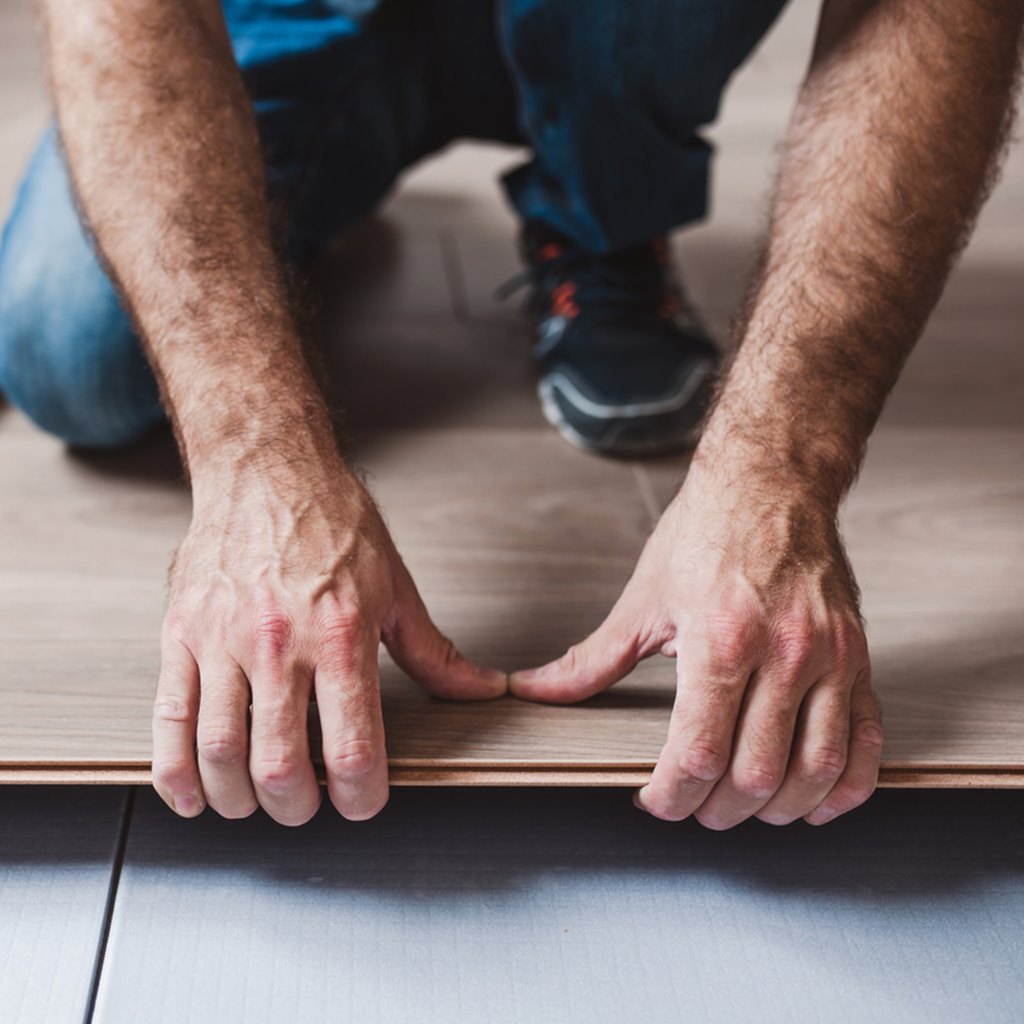
Click vinyl flooring is a versatile flooring option that has the benefit of being relatively easy to install compared to other flooring types. It does require a little skill and effort, but by following this guide on how to lay click vinyl flooring, anyone can do it!
What is Click Vinyl Flooring?
Vinyl flooring or LVT flooring is made into planks or tiles and is primarily constructed from vinyl. It is usually a multi-layered product that has a transparent wear layer, an aesthetic layer that contains the pattern and colour, and a core layer. Some LVT flooring also includes an underlay layer or backing.
Click vinyl flooring is a type of floating floor that can be installed without the need for adhesive. Instead, the tiles or planks simply lock together, and by leaving a small expansion gap between the wall and outlet layer of the tiles, the floor will expand with heat to fill the space and remain fixed in place.
Preparing the Subfloor
Your subfloor must be in great condition and while the underlay importance in LVT is debated, preparing your subfloor is not. If your subfloor is uneven or littered with debris, the click LVT flooring may not install properly or could eventually warp.
First, remove all furniture in the room so the floor is unobstructed. Secondly, make sure your subfloor is clean – dust and hoover it to remove any debris that could make the planks uneven. Next, check the levelling of the subfloor. Ideally, it should be within 3/16-inch over 10ft. If you find uneven spots over or under this threshold, you will need to use a self-leveling solution.
Planning and Layout
You shouldn’t start laying your click luxury vinyl flooring without prior planning and layout considerations. Many homes have irregular shape rooms and over time, walls can become bowed which can affect the installation.
You need to make a starting point for your flooring that is square with the room. I recommend measuring the length of each wall and calculating the floor space you need to cover. This lets you know how many tiles or planks you need. You can also see if any cutting is required to fit the final rows in.
Removing Skirting Boards
You can’t install your vinyl flooring without removing the skirting boards first. This is because you have to be able to see the walls so that you can line the tiles or planks properly and get the required expansion gap.
To remove the baseboards or skirting boards you will need to prise them away using a flat tool like a chisel. They should prise away with a little force but make sure you are gentle to avoid snapping them or damaging the material with the tool.
Installing Click Vinyl Flooring
With a rough layout and quantity established for your click LVT flooring, you can lay the first row. It’s important to start from one corner and wall of the room and make the first row perfect. If you mess the first row up, this will cause issues for the rest of the installation.
You must always follow the manufacturer’s instructions (for example, for Amtico’s Click Smart range) and they should provide rough guidelines for joining the tiles and setting up the first row. This usually involves scoring and cutting the tongue from the first row and laying it against the wall while maintaining the recommended expansion gap.
The next row must then be staggered by a minimum of 6 inches so that the ends of the tiles or planks are not aligned row to row. This typically means that you have to cut the first tile of the second row and make it shorter.
It’s then a simple process of laying the click LVT flooring row-by-row. Make sure that you maintain the expansion gap between the wall and the outer tiles as you progress.
Finishing Touches and Maintenance
The final row can be tricky as this often requires cutting lengthways but the tiles are usually easy to cut with an initial scoring to penetrate the vinyl.
Once the entire floor is installed, check your work and make sure that there is still a sufficient expansion gap. Also, check the interlocking of the planks or tiles to make sure they are all flat and are joined properly.
Once you are satisfied with the installation you can re-install any skirting boards that you removed initially.
Become a DIY Expert and Install Your Click Vinyl Flooring
I hope you have found this guide on how to lay click vinyl flooring useful. If you are confident you can save money on installation costs and easily do the work yourself. The process does require patience and planning, but providing you prepare your subfloor, follow the manufacturer’s instructions, and get the first row set perfectly, your click vinyl flooring should look superb!


